
How to raise handlebars on a mountain bike?
Wondering how to raise handlebars on a mountain bike? It’s not rocket science but you can’t do it without practice. Most people will just hop on their bike and go riding. They don’t take the time to consider what’s going to happen if they make a mistake.
So how do you raise handlebars on a mountain bike? What kind of bicycle does it need to be in order to accomplish this task? A: Mountain bikes with a threaded seat stay are the only ones that can safely do this. B: Any other type of mountain bike including road bikes and hybrid bikes can do it also. C: Anything with a flat bottom, wide tire and steel tubing can do it also.
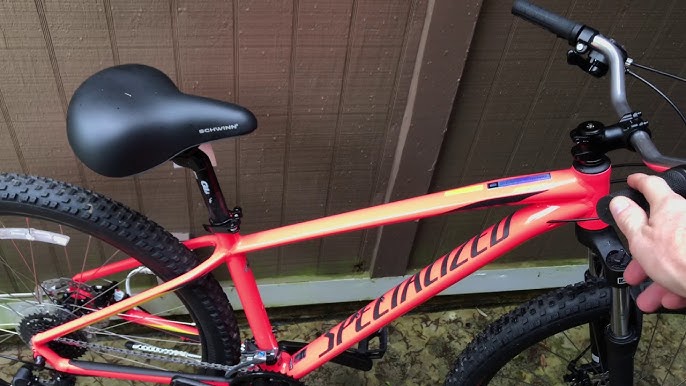
What you need to do is loosen the nuts on the stem next. You can use an adjustable wrench or cable cutter. Then move the stem so that the tightening nut is near the top. You can start adjusting the handlebars by wiggling the stem until it no longer slides on the adjusting tips.
Now here is how to raise handlebars on a mountain bike for people who are looking for a more secure way of lowering the handlebar height. I’m assuming that the handlebars are already in the upward position. You need to take the seat off and unbolt the stem and handlebar. The part you can’t see is the part where the seat stays. Unscrew it and pull off the bolt that attaches it to the seat.
Now you need to adjust the handlebars in the upward position. You will probably need to do this a few times to get the handlebar height to be exactly correct. Once you’ve gotten the handlebars to the proper level, tighten the bolt that is holding the handlebar to the seat. You can then remove the seat and put it in the repair shop if it needs repairing.
To get the handlebars to go down a little, you can try to adjust the handlebar height one to two inches. To raise handlebars on a mountain bike for people who are just learning how to handle the brakes, you can also try changing the spring and brake lever positions. Again, this can be done by loosening all the bolts holding the handlebars to the bar. After that, put in a new spring and set the lever up as low as possible. You can then move the bar to the point that you want it at and adjust the handlebar settings for maximum feel.
You should also check the chain guide on the mountain bike when you are setting up the handlebars. Sometimes the chain is so worn out that it can’t move properly with the bars. You can then adjust it to point straight up or down. This should make your riding experience much more comfortable.
Some people like to bring their cell phone inside of their mountain biking equipment. If you have one of these phones, you can plug it into a Bluetooth device that will charge the phone while you are working on the handlebars. The same is true for your helmet. You can get the sound from the inside and then change the handlebars to get the proper settings for your style of riding.
Some people like to change their handlebars mid-ride. This allows them to easily adjust to the terrain and speed changes. It makes for a more comfortable ride, even if they have to deal with a bit of pain after the fact. Once you are done changing the handlebars, check your speedometer to make sure that you are going the desired speed.
Some people do not like the idea of how to raise handlebars on a mountain bike. They feel like it takes too long and requires too much physical effort. The good news is that it really does not have to take that long. All you have to do is read up on how to handle the bar properly and then adjust it yourself as needed. This could take a little bit of work, but you will be more likely to succeed if you are in good shape to begin with.
If you are considering purchasing a new mountain bike, then you may want to consider getting handlebars from your manufacturer. They will typically allow you to switch out handlebars without paying additional costs. After all, if you are riding in bad condition, then it makes no sense to spend money on a brand new bar when you can simply fix it yourself.